Create Free Business Email Id Using Zoho Mail Free Plan
(Last Updated On: )
Zoho mail free plan helps you to create business email id at free of cost for your domain. Sounds Interesting?.
Having a business email account is really required nowadays to approach clients as a business owner with official business email id.
it tells others that all emails come from the email id associated with the domain is original and not spam.
Let us see how to create your business email id using Zoho mail free plan.
Steps To Follow To Create Email Via Zoho Mail Free Plan:
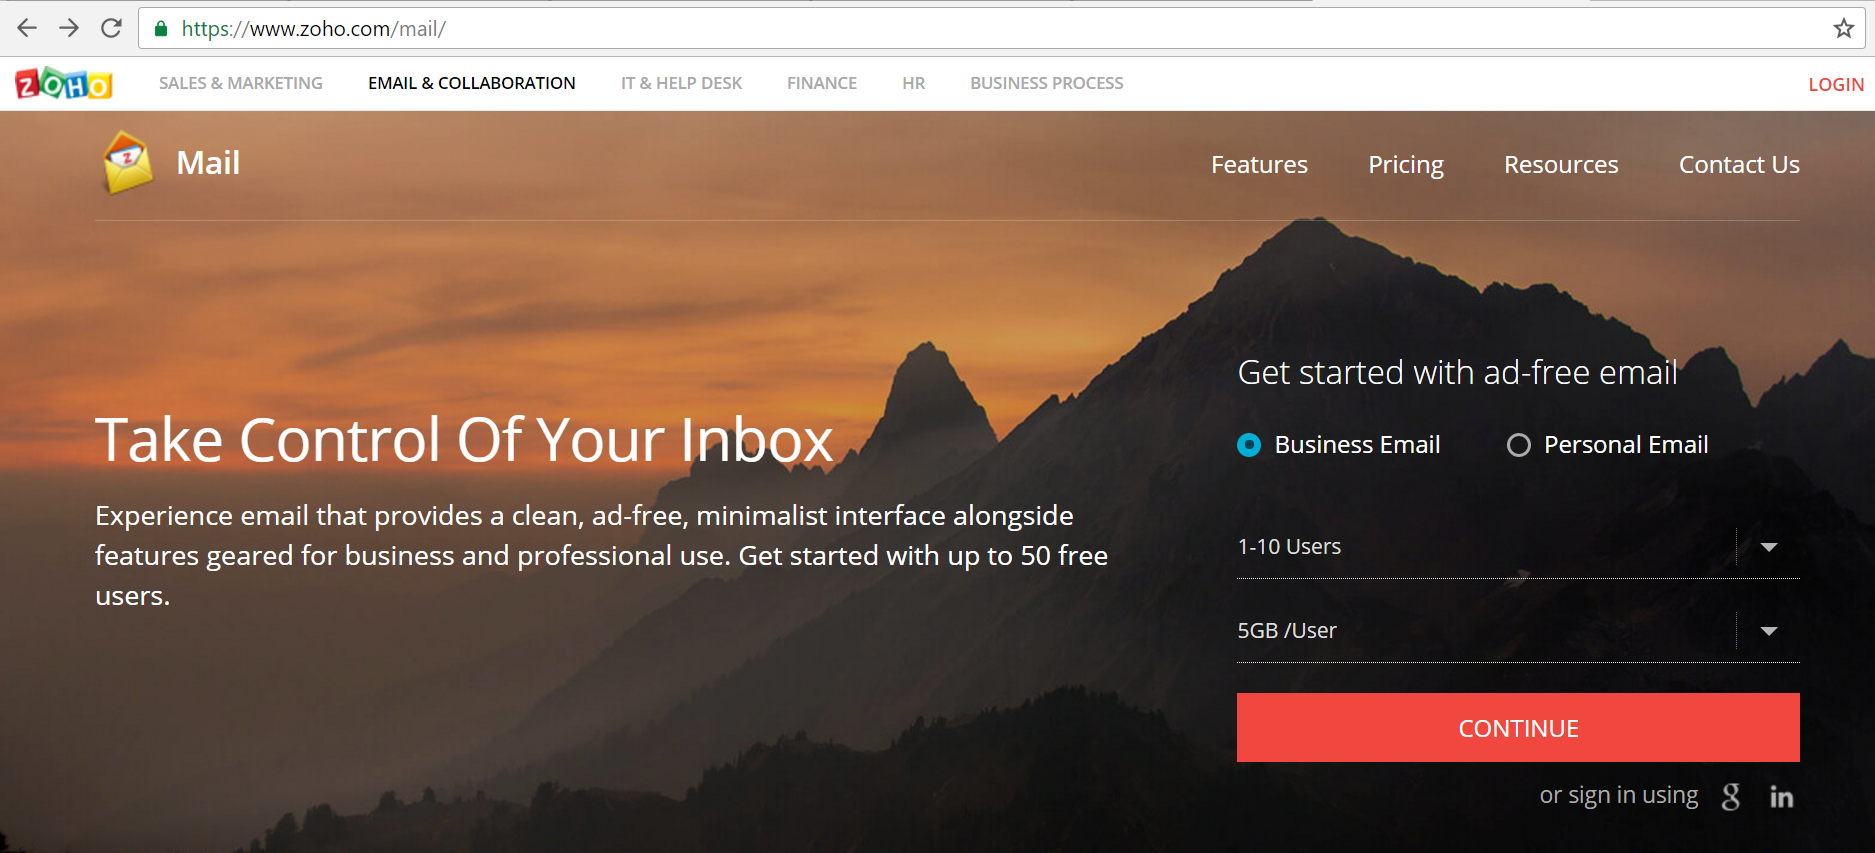
- Open the url zoho.com to start with the process.
- Choose business email option and click continue to sign up for the business email account with Zoho Mail Free Plan.
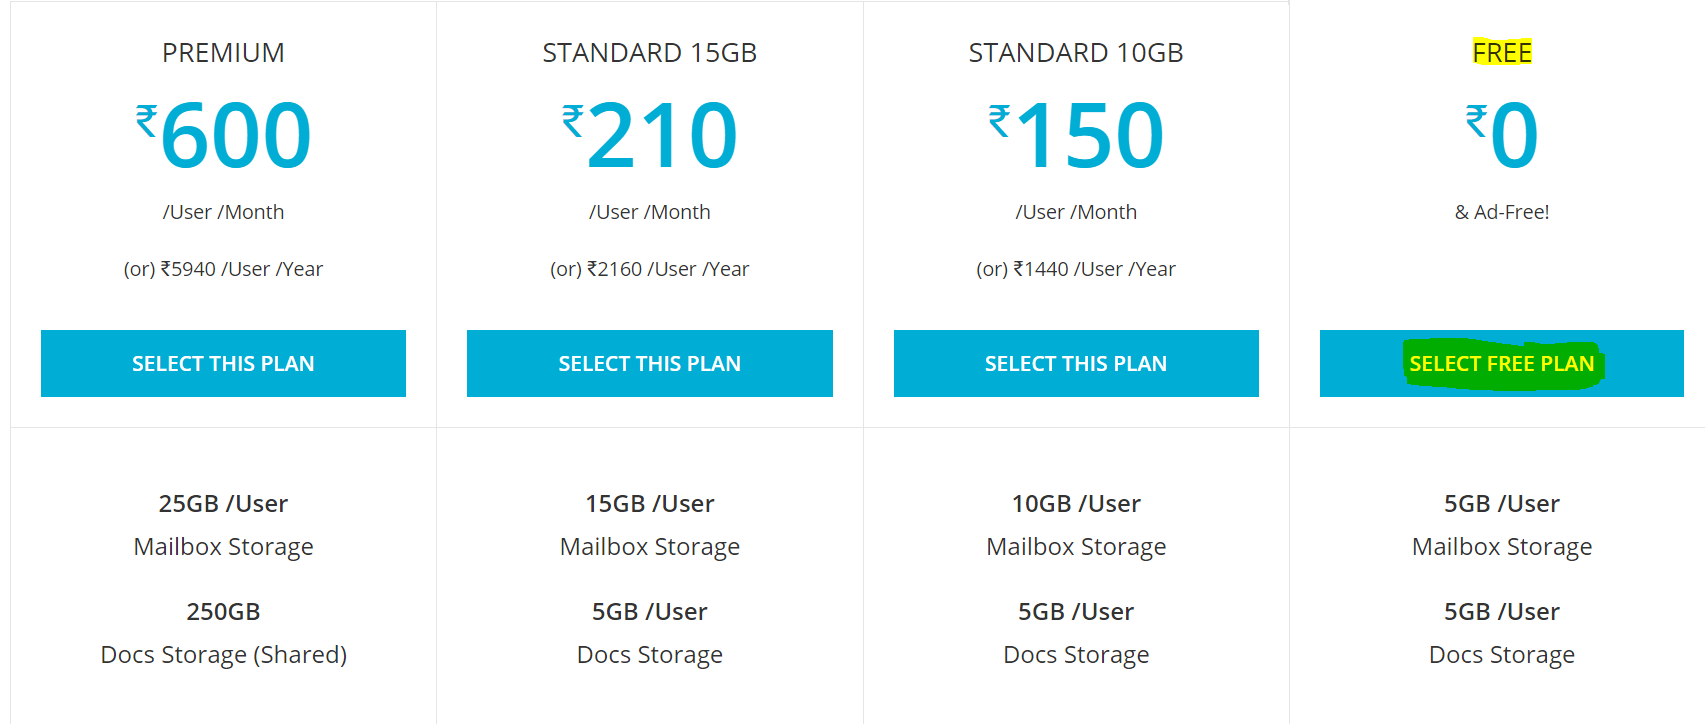
- Once you click red color continue button, it will navigate to the below page. In this page, you are supposed to click on ‘Select free plan’ button. If you go with paid plans, you will get more gb storage space. I recommend you to go with free basic version initially then you can switch over later to other paid plans if you really need high storage space.
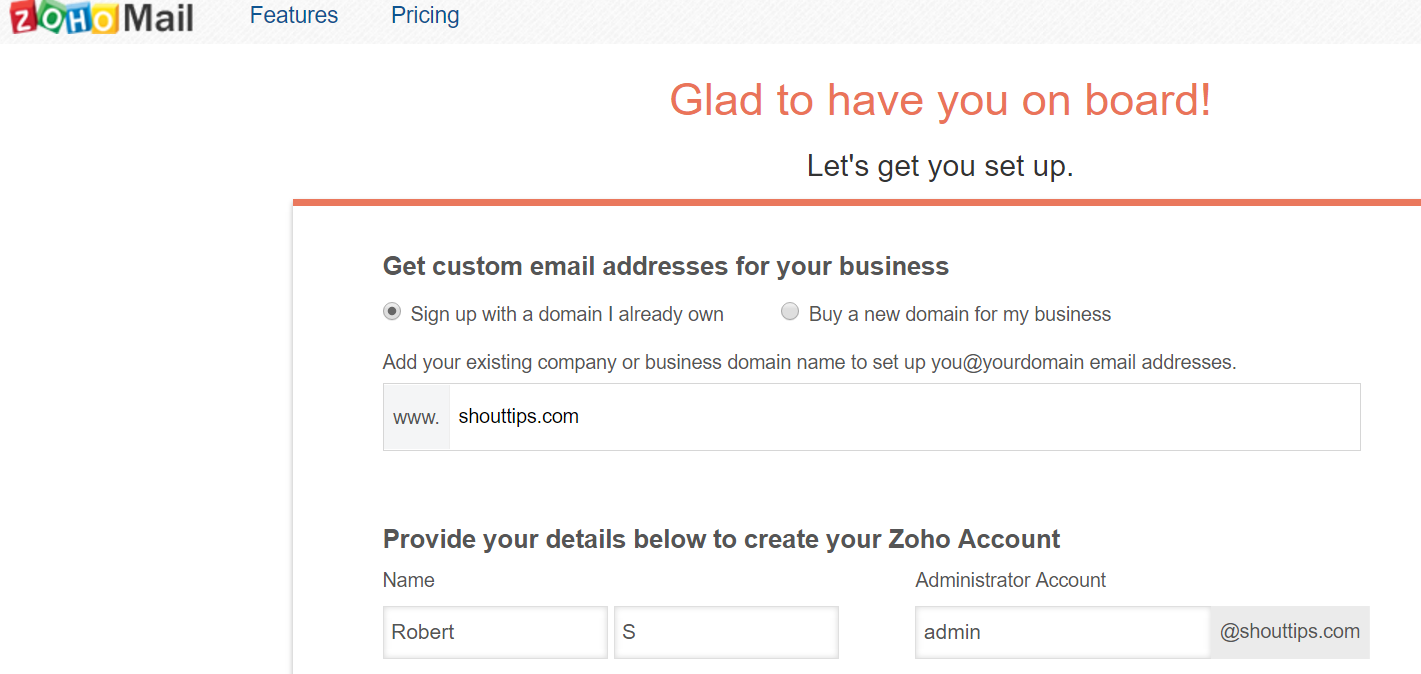
- After clicking select free plan button, it will take you to below page where you need to enter domain name, email id username & password, mobile number etc.
- After submitting the details, you will receive a sms in your mobile with the verification code. Below will be the page you should have got redirected.
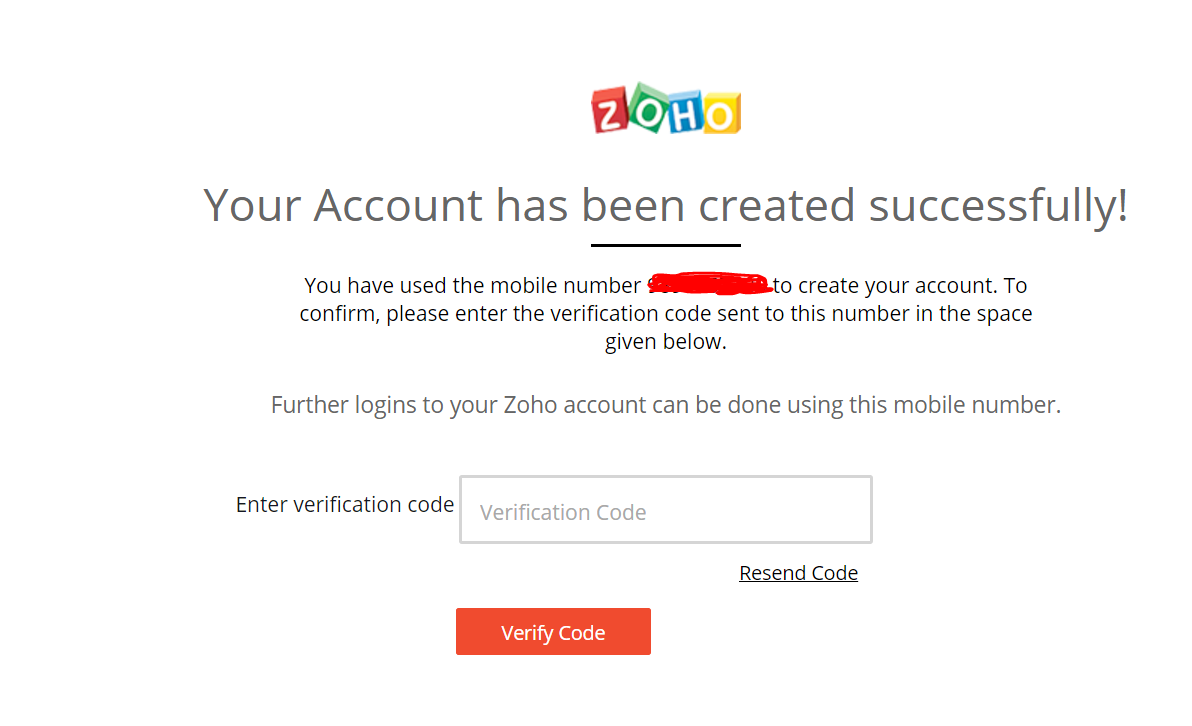
- Enter the verification code which you got via sms and click verify code button. That’s it. Almost your account will get created instantly. Below will be the page you will be in next. It shows the features available for the free plan you have choosen.
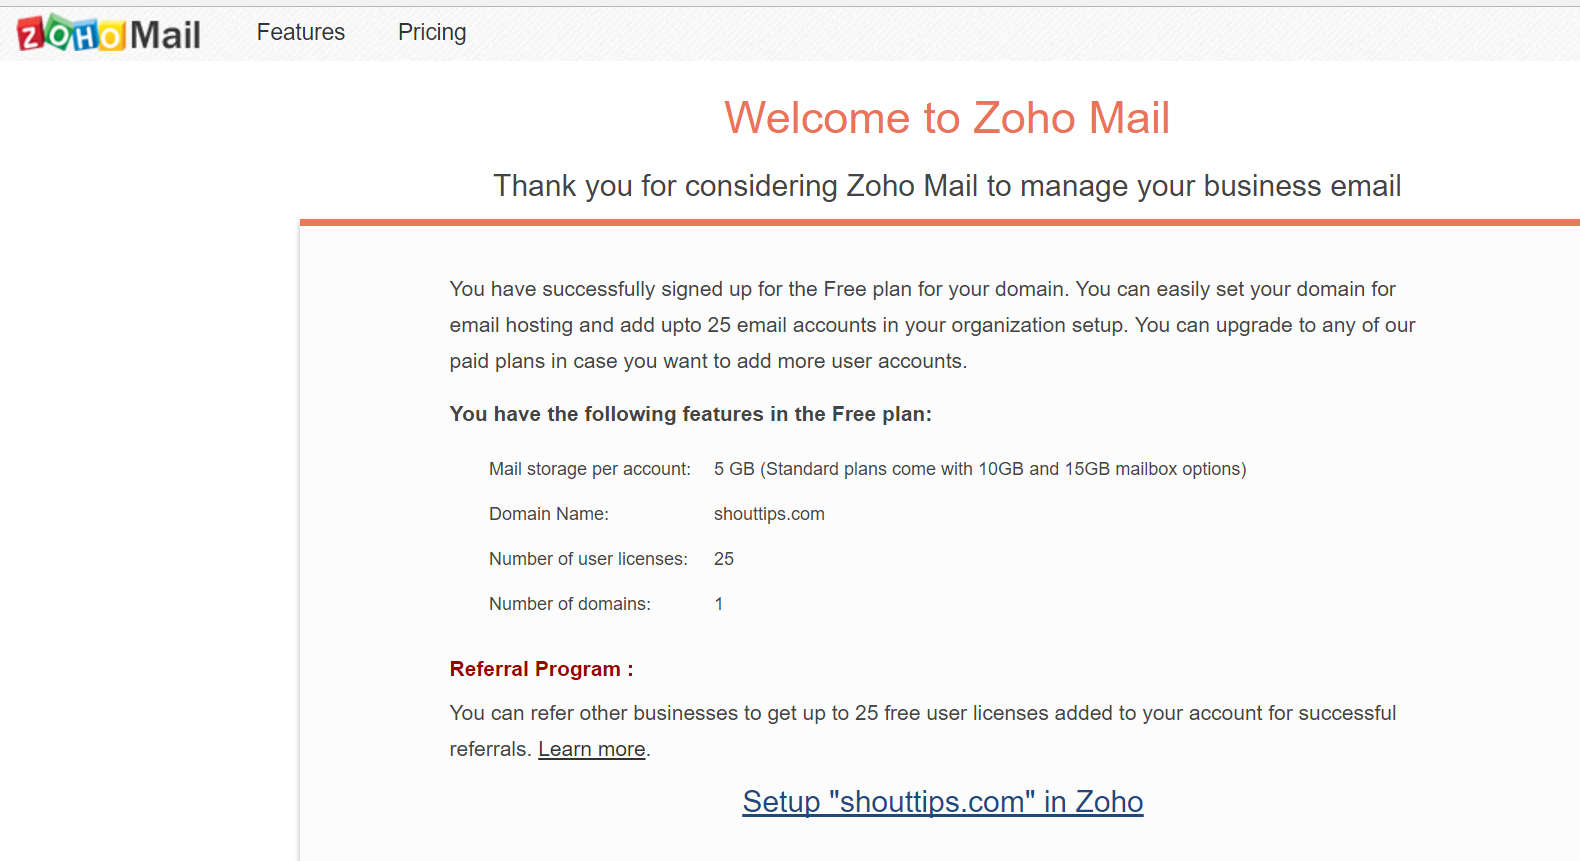
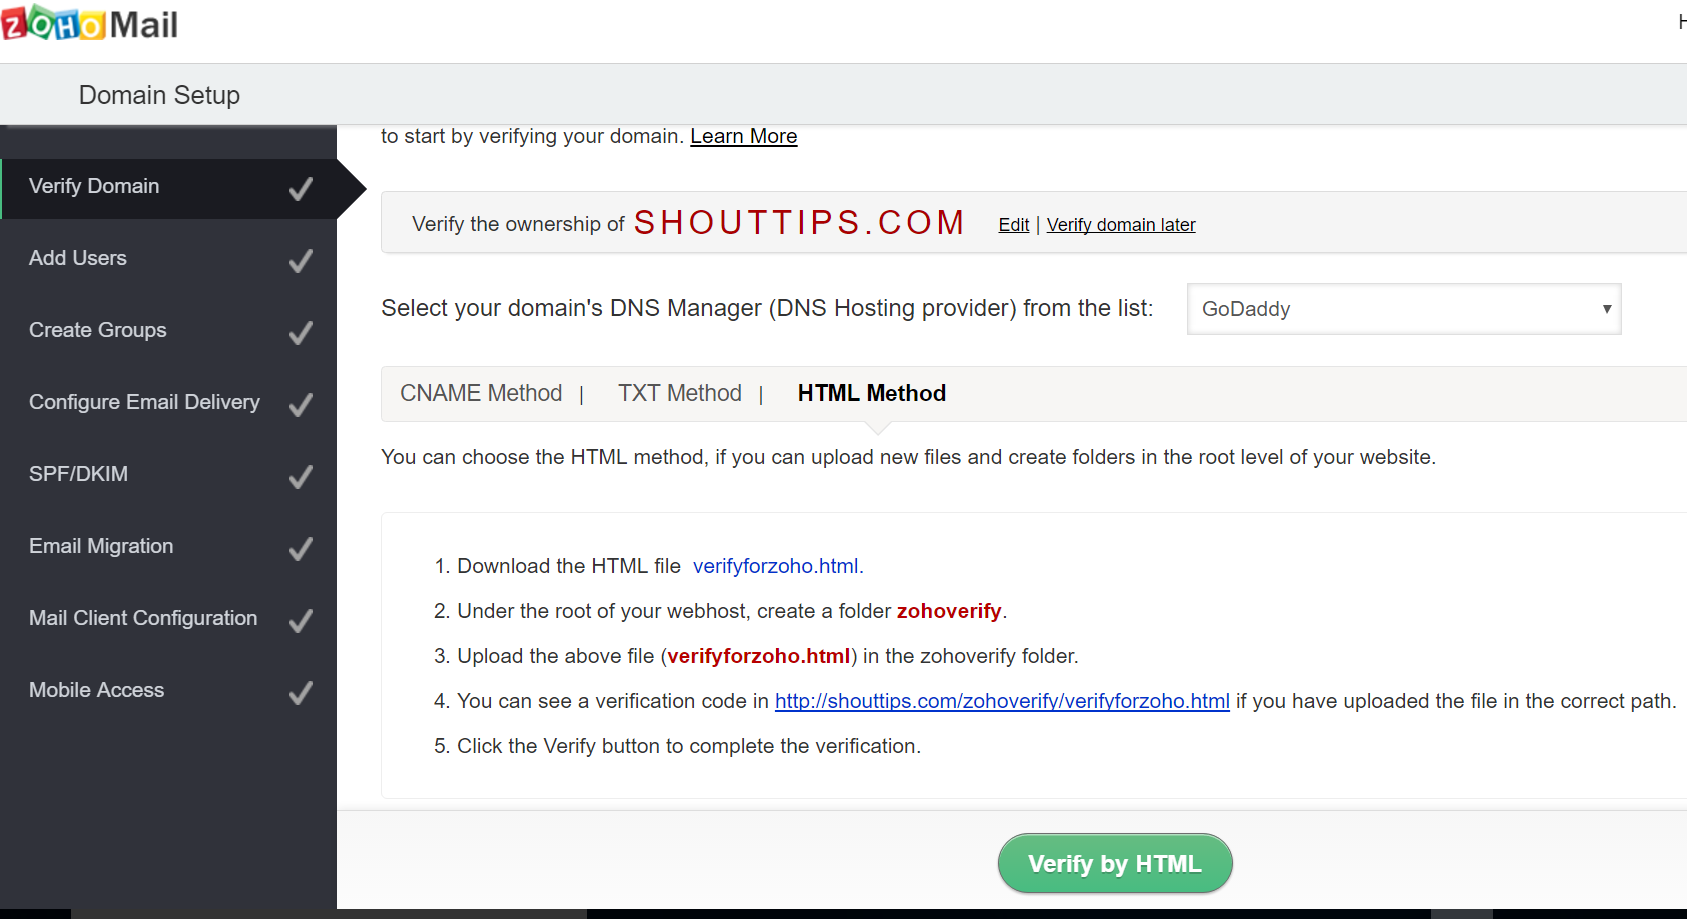
- Click setup button on the bottom of the page to proceed further. Now in the next page verify the domain ownership using one of the 3 methods. Get it verified using HTML method which is easier. That’s it.
- Copy the MX records from Zoho dashboard under ‘Configure Email Delivery’ page
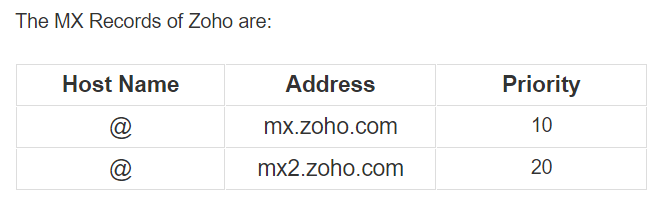
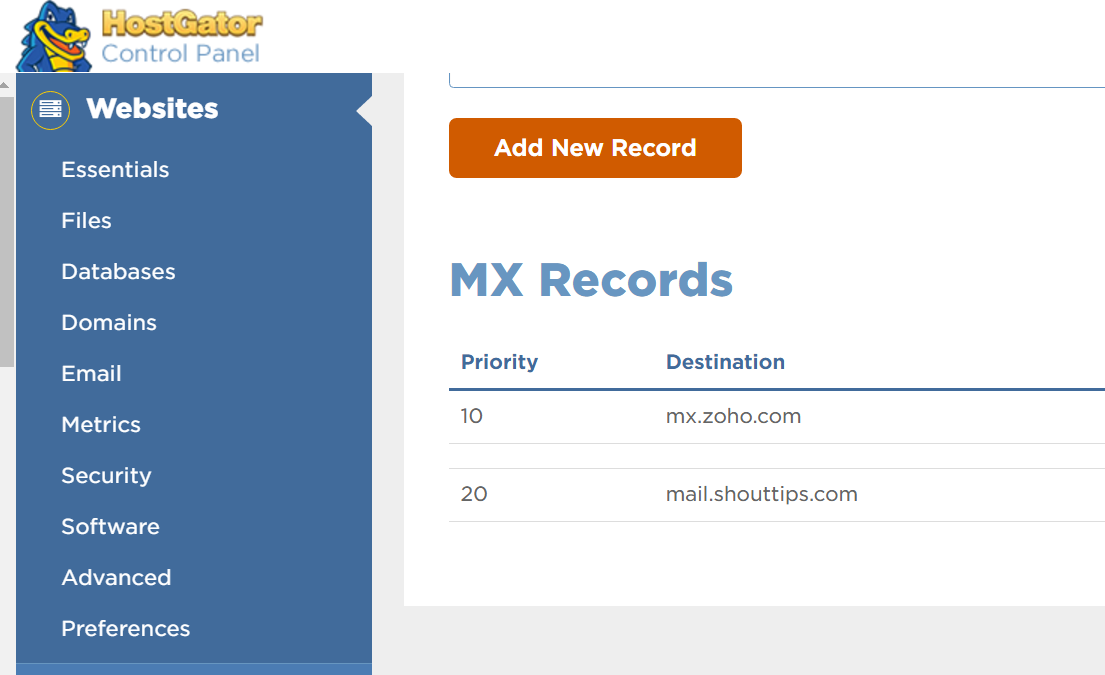
- Add the MX records in your hosting account for the corresponding domain.
- Keep on clicking next in the zoho dashboard till you reach the final page where you can see a hyperlink with the name ‘Proceed to access zoho mail’. Click on it to reach your new zoho mail inbox. You able to send or receive email messages now. You can test the same.
Conclusion:
Hope all of you have enjoyed this post and created business email id for your domain by now using Zoho mail free plan.
if you encounter any issue while trying to create business email id please let us know via comments section.
We will be happy to help you.